Tuesday, 29 January 2013

Methi-Carrot Rotis - Double whammy

Methi-Carrot Rotis !! 

The truth :  I have come across many parents who complain that their children do not like to eat methi roti because it is bitter and they are typically not fans of carrot either, though both of them are good for health. The combination of methi and carrot in a single roti/parantha as the staple is liked by many children as I have observed. Here is the trick with of course a little bit of extra work.


7 easy Steps to prepare combination roti  for  the children as they return from school.
Step 1: You can use these simple kitchen utilities.


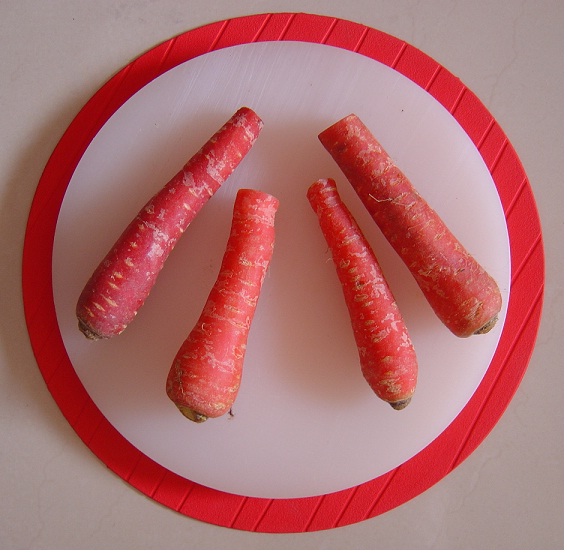
Step 2:           The ingredients are methi(fenugreek leaves), carrot and wheat flour.


Step 3:           Prepare the dough with pleasure.  


Step 4:         After rolling the rotis to a decent size, use a lid to carve the uniform sized methi and carrot rotis. Place the methi over the carrot and then use the rolling pin to make it to a bigger size than the saucer.


Step 5:           Use the saucer and scroller to get the serrated appearance and fuse the ends.


Step 6:           The rotis after scrolling. One side will be carrot yellow and the other methi green.  


Step 7:         Bake the rotis and have them pipping hot and ready to be devoured by the kids,  right after school. Delicious Methi-Carrot rotis !!!


Monday, 28 January 2013

How to select and cut open a Pomegranate

How to select, cut and serve pomegranate

Look and feel: The pomegranate should be almost red all round and shining. Avoid pomegranates where the skin is rough and shrinking. The crown should look healthy and free of small insects.
7 easy steps to cut open a pomegranate

Final Product:


Step 1 :   Some vendors cut out a small section of pomegranate to give you an idea of the fruit. Select  a good one.   

 Step 2:           Shear the crown and the stem portions, with a flat knife.


Step 3:         Scoop out the top portion without touching the seeds. This requires a little practise.  
Step 4:         With a sharp knife make 8 incisions over the skin deep enough but not to touch the seeds/fruit inside. 1 and 5, 3 and 7 , 2 and 6 , 4 and 8 in order. Cracking of the pomegranate can be avoided in this way. 


 Step 5:      With a flat knife slightly twist the vertical incisions in sequence till the pomegranate open up like flower petals.


Step 6:           Now you can fully open the pomegranate with ease and lay it out .


Step 7:          Below is a close up view of the pomegranate at this stage. Using a toothed knife separate the seeds from the skin without making a mess.
I do hope you have enjoyed and learnt from the sequence above.
                    Thanks for viewing and I look forward to your valuable comments

Guava Single stroke de-seeding : You like it ?


Rangarajan Ramaswamy Bangalore  28.01.2013 

Sunday, 27 January 2013

How to pick a ripe pineapple and carve out slices

Color and smell: To pick a good-to-eat pineapple, look for a nice golden hue all around the fruit, especially the base. It is still good and ripe if it has green on the upper portion. Sniff the bottom of the pineapple for a fresh, sweet aroma. Pineapples are sweeter toward the base of the fruit and this is a great indication of how ripe the fruit is.

Perfectly ripe pineapple


Trimming and carving in 7 easy steps:

Step 1: Chop the crown and the stem. Slice the stem as straight and even so it will stand. Preferably use a knife that is broad and flat knife. Do not twist the crown to remove it, slice it as close to the top as possible. 


Step 2: Shave the outer skin of the pineapple, till the eyes are from 2 mm-3 mm in diameter. The eyes are skewed in one direction but we will cut along the straight side of the eye.


After One Day


Step 3: Hold the pineapple and cut along the eye’s direction, first from left to right, then right to left, making a “V” and removing the thorns while preserving most of the fruit in the process. 


 Step 4: After the “V” cuts all along, the pineapple should appear like as in.


Step 5: Set aside the pineapple for a bit to allow the juices to settle.
Step 6: Grip the pineapple lightly between fingers and slice discs of 5 mm -10 mm each.
Step 7: After two slices are cut, place the slices down to act as support for the pineapple from sliding. 


 Place the slices on a tray or dining plate , as shown. Enjoy!!!


Guava Single stroke de-seeding : You like it ?

Left Click on any image and you can see all images in fullscreen

Thank you for viewing. I look forward to your comments.


Rangarajan Ramaswamy Bangalore 27.01.2013 03:30 pm


Sunday, 20 January 2013

Curd Setting in Earthen Pot


Curd Setting is an age old process. For setting curd in an earthen pot, transfer well heated and warm milk slowly inside the pot avoiding bubbles. Avoiding bubbles will result in smooth texture. Take a small quantity of curd in a tablespoon, add a little sugar and mix it uniformly with a little bit of water. The presence of sugar  will help in a smooth texture and delay the process of curd getting sour. When the milk in the pot is lukewarm, add the small portion of the curd and mix it in the entire milk, slowly with the same table spoon covering the whole milk without creating any air bubbles. Then cover the pot with a good dining plate or simply with a good cloth. Leave aside the pot undisturbed for 6 to 8 hours and enjoy the curd.


Suggestion: It is a good idea to make and use a small coconut shell scoop for scooping and serving the curd


Rangarajan Ramaswamy Bangalore 20.01.2013 04:00 pm